Full-colour point clouds
A spinning laser measures the shape while a Pi Camera Module 3 Wide adds the colour, so every point comes out in its real colour, not just grey.

Design complete, build next
A DIY 3D laser scanner that sits on a camera tripod. A spinning lidar and a camera sweep the room and save it as a levelled, full-colour point cloud, all run from a Raspberry Pi and a single power bank.
Features
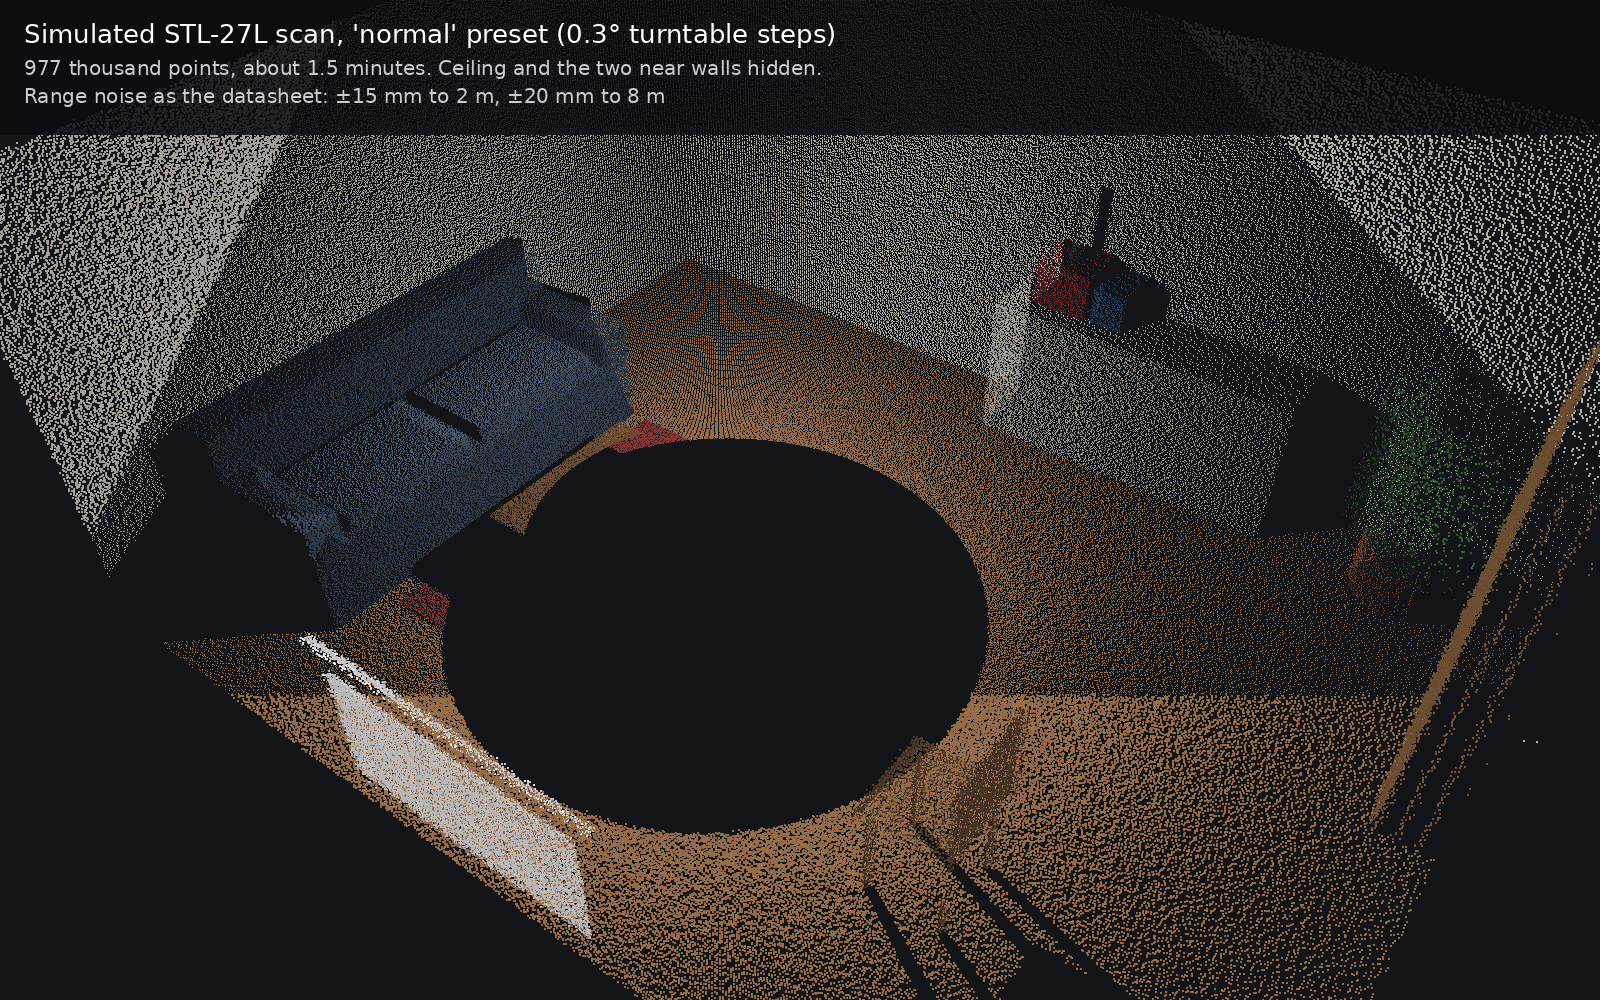
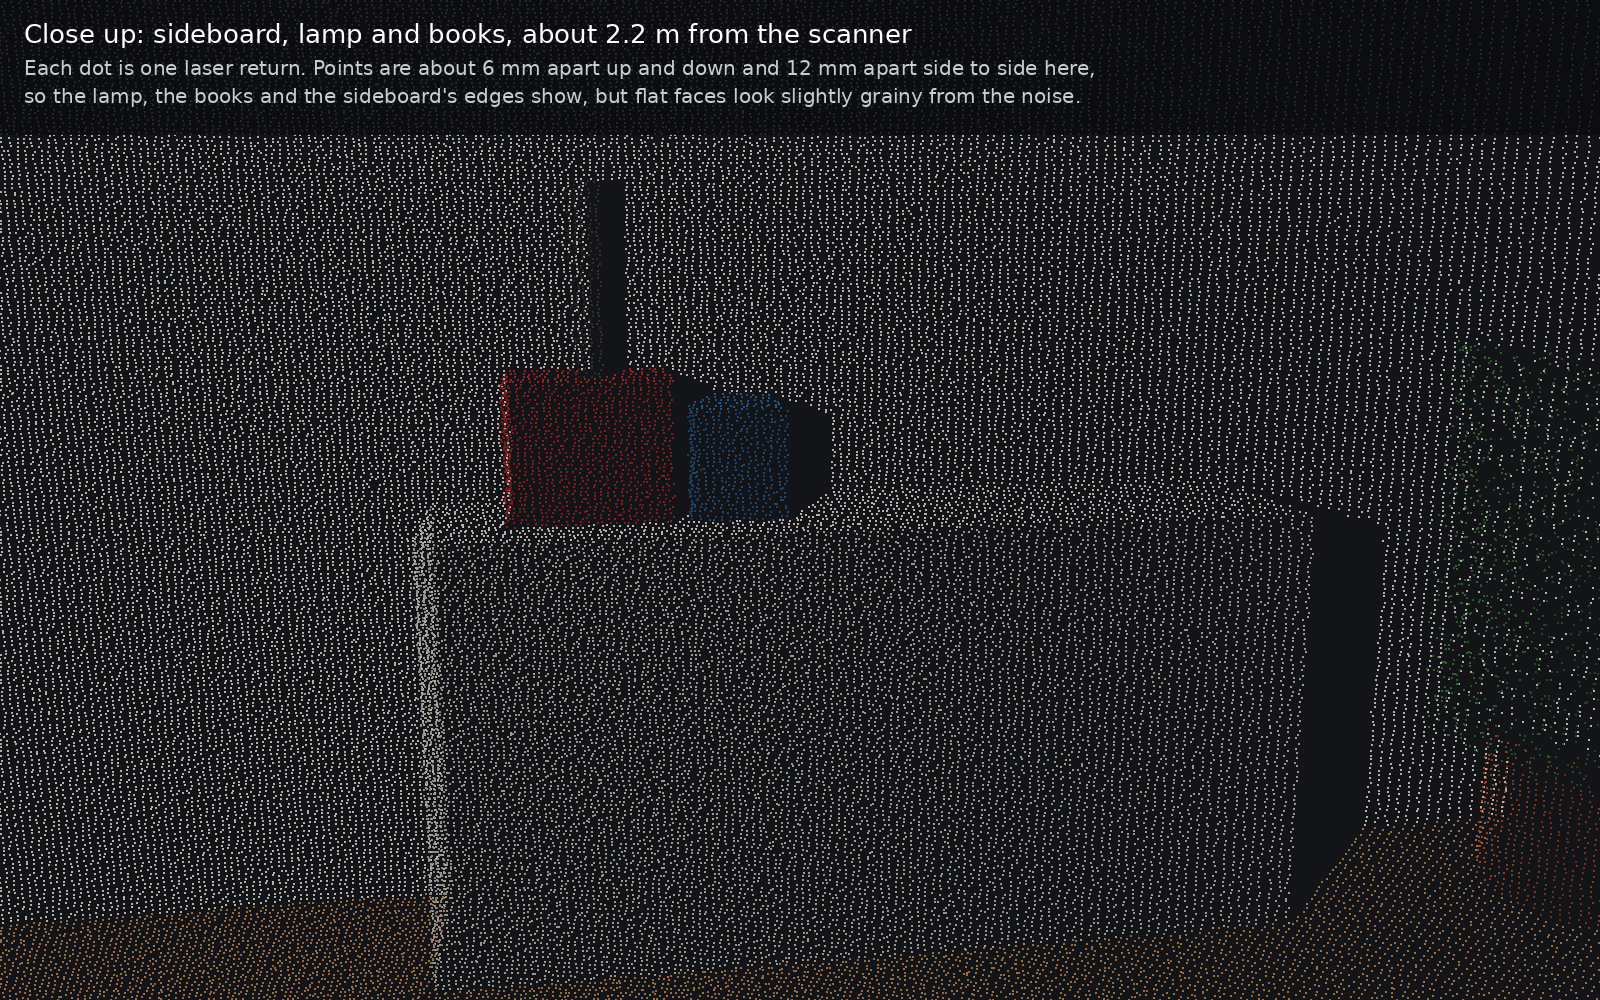
This is what the design does. It is built in software and reviewed, but it has not been assembled in hardware yet, so the scans below are simulated from the sensor's own figures.
A spinning laser measures the shape while a Pi Camera Module 3 Wide adds the colour, so every point comes out in its real colour, not just grey.
A tilt sensor measures how the tripod sits and levels every scan automatically, so floors come out flat even on uneven ground.
A stepper motor turns the head on a toothed belt, with a small pulley walking around a fixed one, so no fragile slip ring is needed. A hall sensor finds the start each time.
One USB-C lead powers the whole thing from a standard power bank, so there is nothing to plug into the wall and nothing trailing on the floor.
Saves the point cloud as .ply, .las, .pcd and .xyz, plus a 360° panorama. Open and measure them in free software like CloudCompare, or in the built-in viewer.
A Raspberry Pi 5 with a 5" touchscreen drives it, or you can start and watch a scan from your phone on the same WiFi.
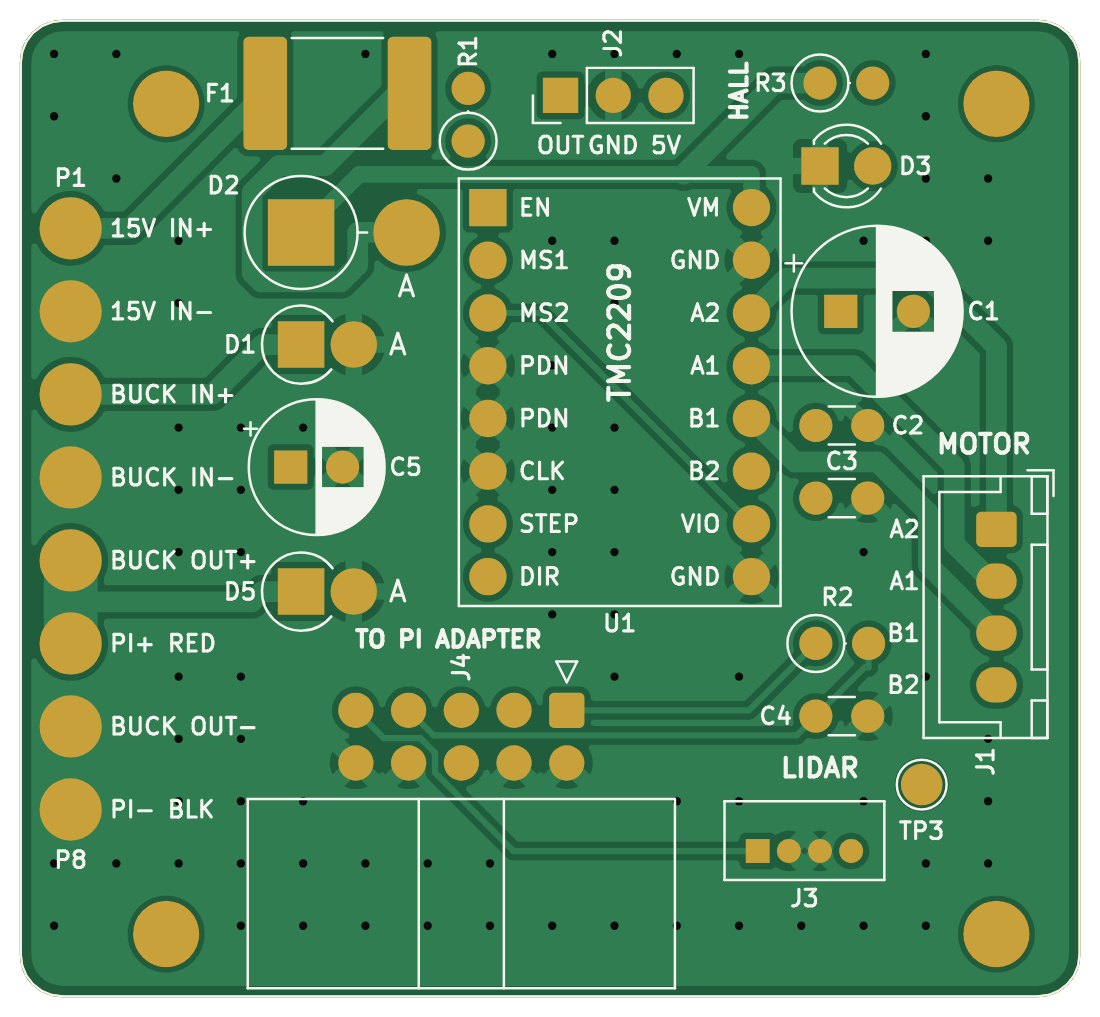
Every part is a parametric model that prints on a Bambu A1, with two optional circuit boards that tidy away the loose wiring.
The built-in 3D viewer has a measuring tool, so you can check real distances between points straight from the scan.
A look at it
These are simulated from the LDROBOT STL-27L sensor's datasheet figures, so they show what to expect before the first real build. About a million points in roughly 90 seconds.
3D assembly
Drag to rotate, and pull the slider to take the parts apart. A simplified view of the head, boards, drive and enclosure.
Where it's up to
The whole thing is designed and has been through independent reviews. Nothing has been printed, ordered or built yet.